COST

Basic service: 1 output = 1.3 photo credit

Amendment: 1 amendment = 1.3 photo credit

SERVICE INCLUDE

  • Blur number plates.
  • Lens-dust removal.
  • Remove people, camera equipment, reflections that are not suppose to be part of the image. It can be photographers shadow, visible tripod in oven door, mirrors, windows.
  • Removing of obvious dirt spots.
  • Add fire in fire place.
  • Blue sky replacement on exteriors.

INPUT REQUIREMENT

  • The general idea is to have 5 exposures, where one is the main exposure, then use bracketing and have 2 under-exposures and 2 over-exposures to complete the exposure profile.

  • The center exposure should be +1 EV and then the bracketing is 1 or 1,3 EV in each step over/under.

  • Ideally uncompressed RAW (JPG, DNG also works)

  • The image size from 12 MP to 16 MP (No need for larger files, it will add no extra quality and only slow down the process)

  • It is in many cases recommended to use flash to fill the image, even some scenarios or styles may lead us to use less or no flash. Make sure that the bounce point is outside the frame of the shot. The way to make the supporting exposures and also how they are edited, vary greatly and depend on Style, Variable and what type of enhancement is to be made. 

OUTPUT FORMAT

Approx. 12 Megapixel 

Dimension: 4252 x 2835

JPG format, quality at 10

IMPORTANT SHOOTING TIPS

Main exposure and supporting exposures 

When shooting a HDR bracket, you should think a head and decide what  exposure in that bracket will be the base for your output. The main exposure should be shot first with the most “balance” in term of photo variable. The supporting- exposures will be used to add the extra dynamic range to different parts of the image, in higher or lower exposure ranges, depending on the scenario. 

Main exposure is close to a normal “single exposure” image. In challenging lightning circumstance, flash is used to fill in. But keep in mind, the flash bounce point should be outside the frame of the shot. 

Supporting exposures are set to handle scenarios manually. The ways to shoot supporting images and also how they are edited vary greatly and depend on the type of HDR enhancement (see the next section). 

real estate photo editing HDR

HDR ENHANCEMENT

Different types of enhancement will be added to the main exposure, through an supporting exposure photo or a stock-photo like an artificial blue-sky or others. Here are the most typical examples: 

  • *Tone-mapping: is an HDR enhancement that consists of merging multiple images through software end adjustments. The input material is best produced by auto-bracketing. For more detail, click here

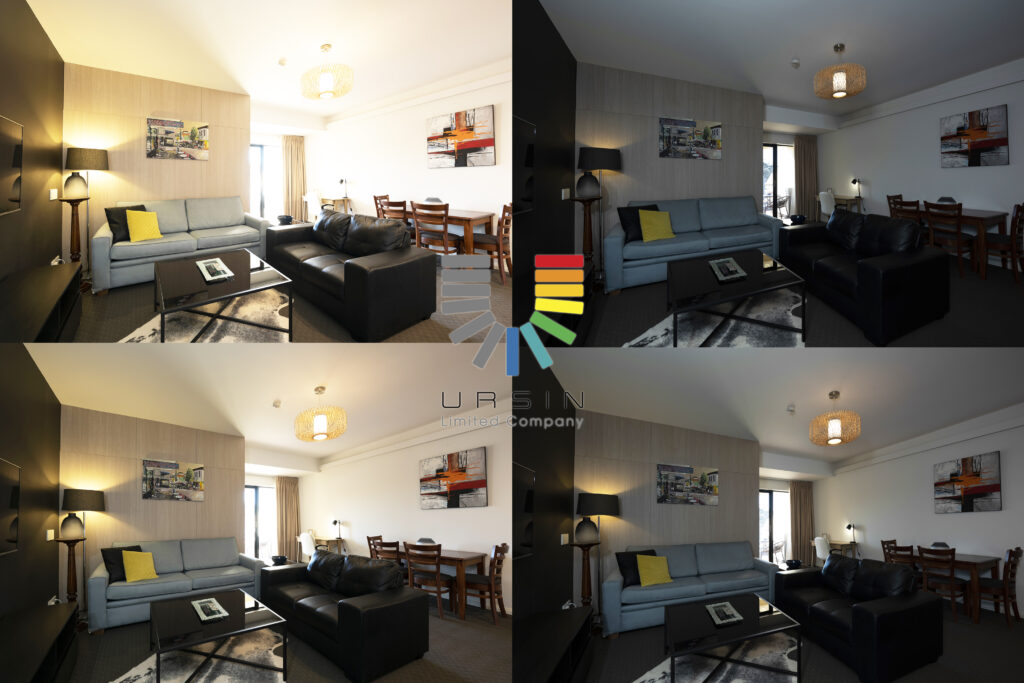
  • *Flambient Enhancement: Supporting exposure is an ambient light, overexposed image which we’ll use to soften the light distribution and get better texture in the dark corners and highlights. There are 2 variables:

    • Dark recovery (interior): Exposure level set to low(normally by the ambient light /shutter speed) to get a dissent exposure in the dark areas while ignoring the fact that the image is generally over-exposed. 

    • High-light recovery (interior): Exposure level set to low to make sure that the highlights area have a satisfactory amount of detail.

  • *Enhance view (interior): Set the supporting exposure to capture the view of windows by under-exposing. It’s important to avoid all reflections on the glass.

  • *Enhance view and frame: Specifically set to focus on the view (short shutter speed) AND light up the window frame so editors can mask views and frames into the main image, result in a much better output. Again, it’s important to avoid all reflections on the glass.

  • *Enhance rooms: Set the supporting exposure to focus on the view of  neighbor rooms… 

  • *Blue sky in windows: Editors will add the blue sky to the view in the windows. This supporting exposure should be shot as an Enhance view shot be cause we need as much details as possible 

  • *Enhance detail /  (Super-stacking)  (interior): This type of enhancement focus on one isolated object or area of the scene at a time. It’s very common to see shooting equipment that set to focus on one specific area in the supporting exposure shots. These equipment, or people, can be edit out easily. We call this type Super-stacking. Photographer are recommended to use Flambient enhance technique in each shot for best result 

  • *Enhance sky (exterior): Set the supporting exposure to focus on the sky while ignoring other elements. It’s important to avoid capture moving objects in this type of shot (trees in wind, flags, birds…)

  • *Night time view (interior): Set the supporting exposure to show the outdoor view, lit by street lights (or moon/star light). Photographers are advised to shut down all interior light and shoot with long shutter-speed.