Photography and Editing Tips
HDR: What? Why? When? and How?
In recent days, single shot is never good enough for real estate photography because of one fact: no camera – even with the most powerful sensor in the world, can capture the scene as what you actually see with your human eyes because the lack of dynamic range (more about this later).
Real estate and other types of photography (architecture, landscape…), where details and “realistic” are the keys, find this issue very challenging until HDR photography was introduced. This technique soon become the most popular solution with more than 90% of online listing photos at the moment are made from.
What exactly is HDR photography?
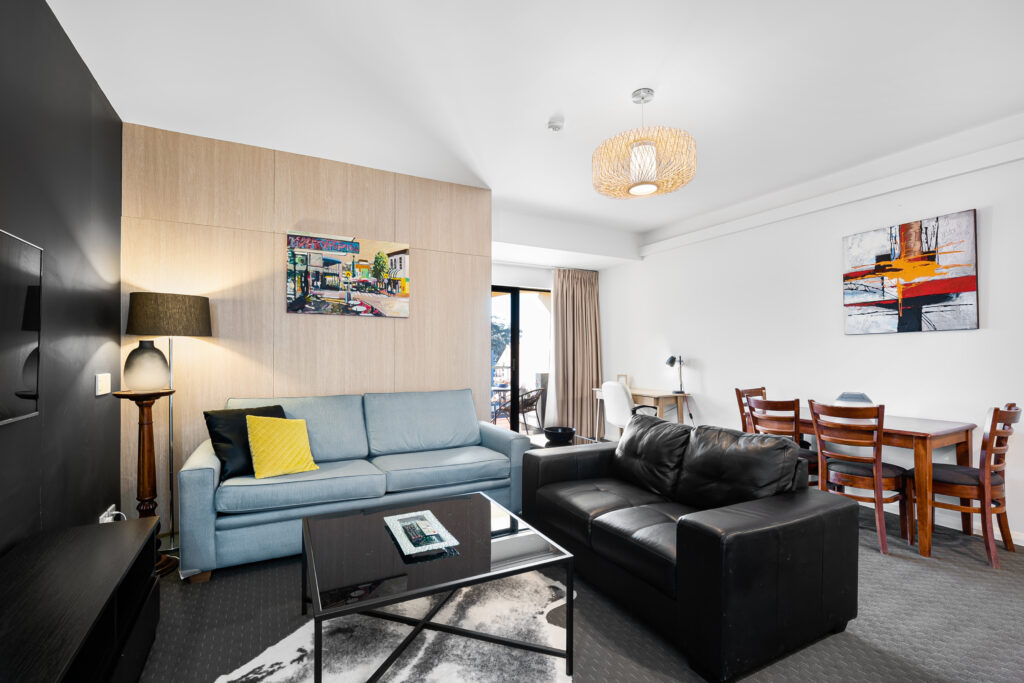
You will find this example very related: in most cases, real estate agent always want to showcase a photo that contain both the interior of the room and its window view, but this is technically impossible with one single shot.
You either get a very dark interior or an overly dazzling window view because your camera’s dynamic range cannot cover the all of the lights and shadow of the scene in one take ( with dynamic range is the difference between the darkest dark and the lightest light). If the situation exceeds your camera’s dynamic range, the highlights burn out or the shadows become very dark.

Bracketed photos
When you understand the cause, the solution become very obvious: taking multiple photos of the same frame at different shutter speed and exposure level then blend them together for the most close-to-real-life result. And that is the definition of “High Dynamic Range” technique or HDR, and those photos of that one frame are called a “bracket”.

Final result
With a photo editing software, editors are able to blend those bracketed together and create a single image that all required areas are in perfect exposure. All of the details are of course highlighted beautifully. Even if the situation does not require HDR, many photographers still chose to do so because the final result will always be better than any single shot.
Sound good? Here’s what you’ll need
Over the years, people have developed many ways to produce a HDR image, but basically, you will need these following tools:
-
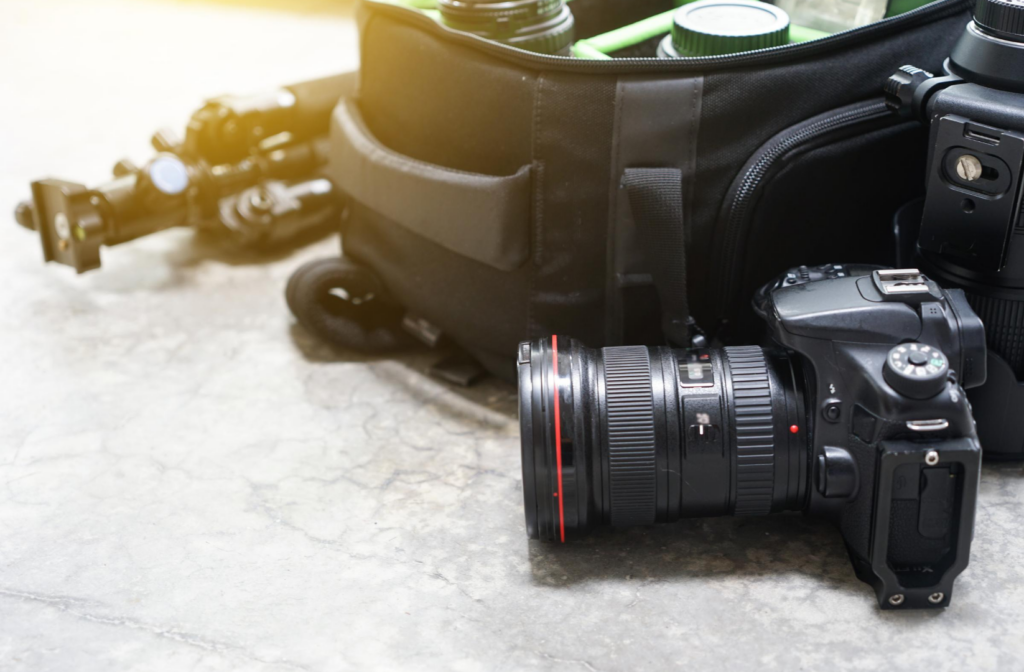
A DSLR camera, ideally with an Auto Exposure Bracketing (AEB)
You can shoot bracketed photos without having AEB feature in your camera. You just have to manually set the camera settings for each shot. However, this is very time consuming and touching your camera from time to time will eventually dislocate the frame, thus, bad results. -
A tripod and a remote controller
When we said taking your photos of the same frame we mean it. Your camera must be as stable as possible between shots and a good tripod will do you wonder. In this spirit, a remote controller will allow you to completely leave your camera untouched, which minimize the chance of the frame being dislocated. -
HDR blending software
There are plenty fish in the sea for you to chose, but those good ones are not easy to master. If you don’t know how to use these programs, don’t worry. Our team at Ursin can blend bracketed photos and do some additional editing for you. In fact, this is our most ordered service of all time.

Some tips for the best HDR photos
-
Again, keeping your camera absolutely still. a slight touch can change the frame. Pay attention to the environment, especially elements that can move your camera. That’s why a good tripod is very much needed. Also, your subjects have to be completely still for the result to be good. Avoid scenes with moving objects that will become a blurry area in the final image.
-
Keep an eye for subjects and scenes that have very noticeable contrasts between light and darkness. These photos will turn out very impressive after post processing.
-
Always shoot in RAW format to maximize the image quality, prevent loss of detail, which make editing easier.
-
Careful with colors that are already incredibly vivid such as a vase of flowers or brightly colored painting. HDR processing can wash them out or give them an overly vibrant look, making the result look unrealistic.
-
Many modern cameras have a “built-in HDR” feature which does the blending automatically inside that camera. Sound convenient? At some degree, yes, but the quality is far less from manual blending. Using this feature means you don’t have any control over the blending settings, impossible to correct some issues and it is difficult to post processing these photos because the result format is always jpeg.


